Last change: Jul 08, 2026
Getting Started with ATE for developers
This document describes how to install semi-ate for developers to develop and test your test-flows. For example, for evaluation a sensor device or to use a test flow later in production.
You will be guided how to install the required conda packages, to configure spyder with different plugins, so that you can then create test sequences with different tests with relatively little effort.
We assume the following
You have maxiconda installed (maxiconda is comparable to Anaconda but completely license-free). You should not install maxiconda as an administrator, otherwise you need admin rights for each package that is to be installed later. This is not practical. And you should install maxiconda only for you, not for all users. Maxiconda is not running together with Anaconda, you have to deinstall Anaconda first! And if c:\users\<your username>\.condarc exist, than remove this file.
You are running Windows 10 64Bit or an linux system.
MQTT
The components use MQTT for communication, so an MQTT server must be available. The easiest solution is to use HBMQTT, which is a Python based broker. It can be installed via PIP or conda/mamba.
You can also use mosquitto. Download and install as administrator to your PC (ask your IT service desk for support).
Environment:
create new environment (conda/mamba)
>>> (maxiconda) PS:> conda init     // once you initialize conda in your custom terminal using
>>>                                 // this command or
>>>                                 // you are using conda terminal you don't need to run it again
>>> (maxiconda) PS:> conda create -n Semi-ATE  python=3.11 spyder=5.5.6
activate environment
>>> (maxiconda) PS:> conda activate Semi-ATE
>>> (Semi-ATE) PS:> conda config --append channels conda-forge
Install Semi-ATE packages for developers
>>> (Semi-ATE) PS:> mkdir -p ~/repos/Semi-ATE                                 //or use a directory of your choice
>>> (Semi-ATE) PS:> cd ~/repos/Semi-ATE
>>> (Semi-ATE) PS:> git clone https://github.com/Semi-ATE/Semi-ATE.git
>>> (Semi-ATE) PS:> cd Semi-ATE
>>> (Semi-ATE) PS:> python scripts/package_tool.py --change-env cicd
>>> (Semi-ATE) PS:> cd src/ATE_spyder/ate_spyder_lab_control
>>> (Semi-ATE) PS:> pip install -e .
Running Spyder
To launch the Spyder IDE navigate to the Spyder folder and activate the previously created environment, then run the following command:
>>> (maxiconda) PS:> conda activate Semi-ATE
>>> (Semi-ATE) PS:> spyder
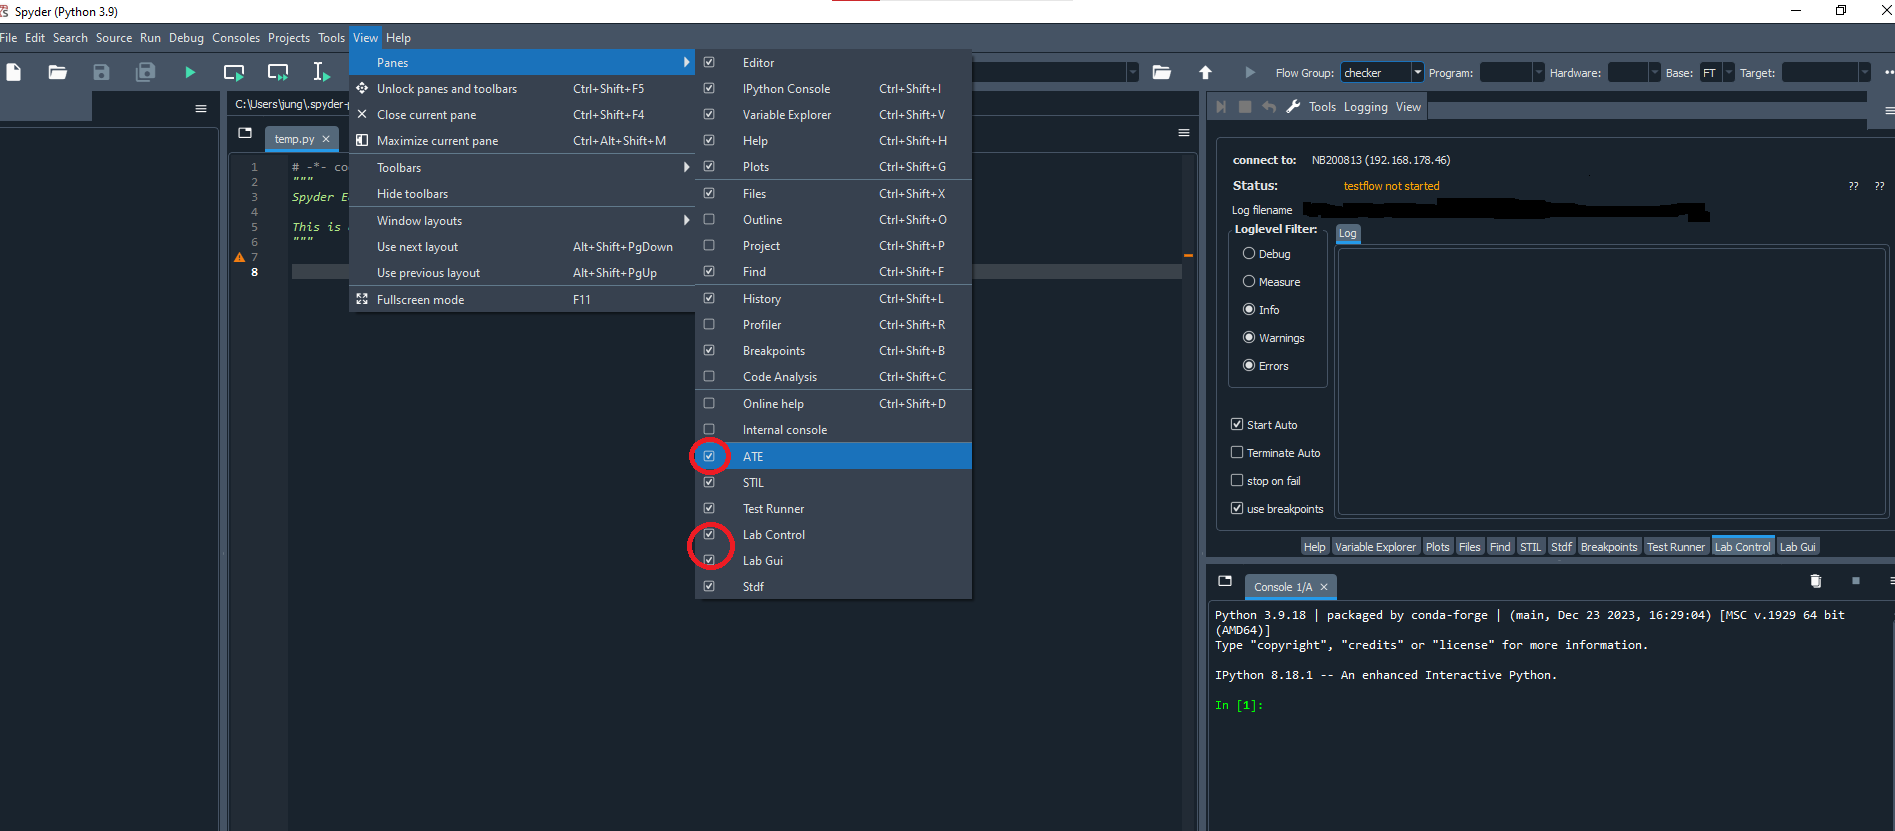
than check View->Panes and enable the necessary panes
and View->Toolbars

Now we are ready to open an existing project or create a new one.
We have prepared an Example Project. to help you get started quickly.
or you read the capital Development process:.